 Save
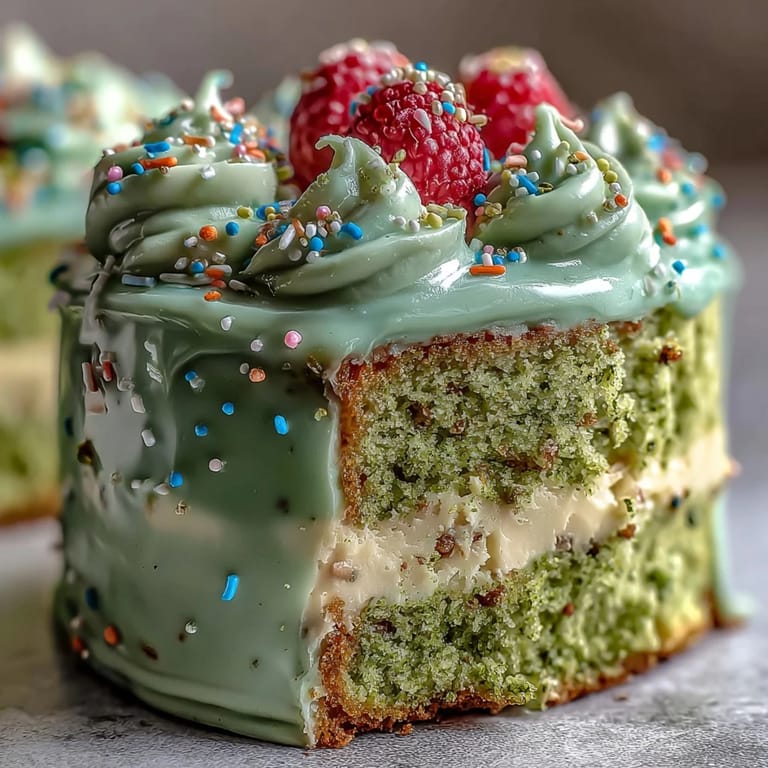
Save The first time I tried baking a mini matcha cake was a slightly foggy Sunday, when brunch felt like the only sensible thing to do. I’d picked up some fresh matcha from a local specialty grocer on a whim, enchanted by its grassy aroma and vibrant green hue. There's something about the gentle sweep of a whisk in a quiet morning kitchen that turns cake-making into a miniature ceremony. As I sifted the matcha into flour, it billowed up in the sunlight, promising something celebratory. Little did I know it would become my go-to for festive mornings that want a bit of drama—but not too much fuss.
Once, I made this mini cake for a friend's low-key birthday—her laughter when we all cheered and smashed into it with forks was worth every crumb. There’s a different kind of joy in a dessert that invites a touch of playfulness, especially when shared with people you love. No elaborate party, just the clink of mugs and soft frosting smiles. That impromptu mess made our brunch unforgettable. Now, every time I bake it, I wonder who’ll be the first to gently squish the top in delight.
Ingredients
- All-purpose flour: Opt for unbleached for the best crumb and always fluff it with a fork before measuring so you don’t pack in too much.
- Granulated sugar: Sweetens without overpowering; whisk it with the dry ingredients to break up any clumps.
- Baking powder & baking soda: These two work together for perfect lift; make sure they haven’t expired for a fluffy rise.
- Salt: Just a pinch fully elevates the flavor—don’t skip it even in sweet cakes.
- Matcha powder: Culinary grade is best for vivid color and bold but balanced flavor—sift it well because clumps can be stubborn.
- Whole milk: Room temperature is key; too cold and your batter won’t mix evenly.
- Egg: Also room temperature for optimum cake texture—pull it out of the fridge before you preheat your oven.
- Vegetable oil: Keeps the crumb tender and moist, much lighter than using butter alone.
- Vanilla extract: Just a half teaspoon brings floral notes that round out matcha’s earthiness.
- Unsalted butter: Softened so it creams effortlessly for an airy frosting—leave it out while you prep everything else.
- Powdered sugar: Sifted to avoid any gritty bites in your frosting; no shortcuts here.
- Milk (for frosting): Adjust for your ideal frosting consistency—start with a tablespoon, add more if you need to loosen it up.
- Sprinkles or berries: Optional, but they take the finished cake from charming to truly celebratory.
Tired of Takeout? 🥡
Get 10 meals you can make faster than delivery arrives. Seriously.
One email. No spam. Unsubscribe anytime.
Instructions
- Heat and Prep:
- Preheat your oven to 350F (175C) and line two 4-inch cake pans with parchment—press the paper into the corners so nothing sticks.
- Sift the Dry Mix:
- Combine flour, sugar, baking powder, baking soda, salt, and matcha in a medium bowl, sweeping with a whisk so the whole mix turns pale green and fluffy.
- Whisk the Wet Ingredients:
- In another bowl, beat together the milk, egg, oil, and vanilla extract—it should smell gently sweet and fragrant before you even pour it in.
- Combine and Fold:
- Tip the wet into the dry, stirring gently just until the last streak of flour disappears; resist the urge to overmix or your cake won’t be as soft.
- Divide & Smooth:
- Pour the batter evenly between the pans and smooth the tops with the back of a spoon—it feels oddly satisfying.
- Bake Until Just Right:
- Bake for 15-20 minutes, then poke the center with a toothpick—if it comes out clean, you’re golden; let the cakes cool in their pans for five minutes, then transfer to a rack and let them chill out completely.
- Creamy Vanilla Frosting:
- Beat the softened butter on medium until dreamy and light, then add the powdered sugar in two stages, finally mixing in milk, vanilla, and a pinch of salt; keep scraping the bowl so everything stays silky.
- Layer and Decorate:
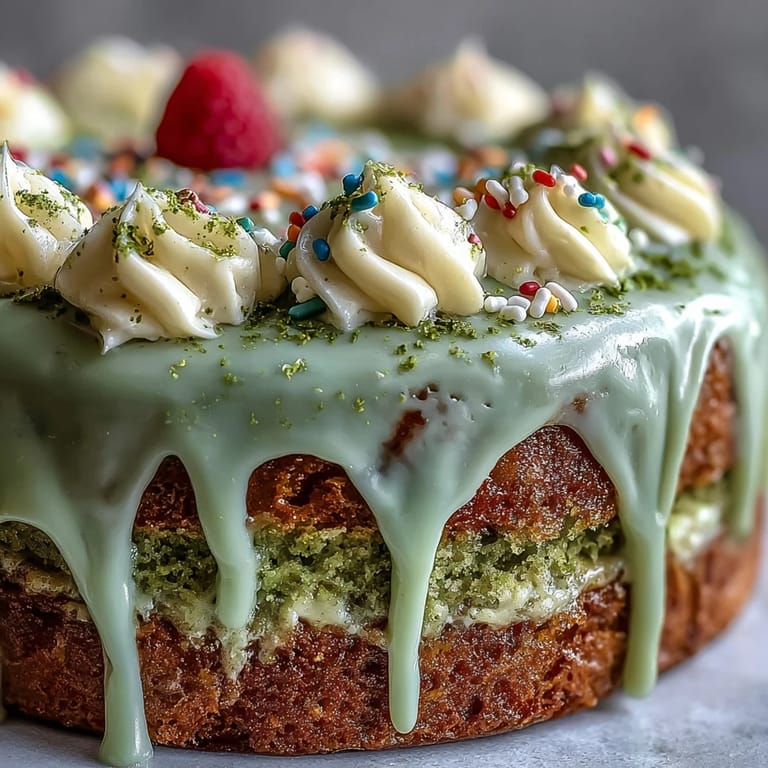
- Spread a layer of frosting between the cakes, smooth a thin coat around the sides and top, then crown with sprinkles or a handful of fresh berries—have fun with this step, perfection is overrated.
- Serve and Smash:
- Serve up the cake at brunch and watch as everyone debates whether to savor by the slice or just dive right in for that celebratory smash.
 Save
Save  Save
Save One spring morning, after a bit of a kitchen disaster involving a toppled frosting bowl, everything came together and we enjoyed that sunlit brunch with green-flecked smiles and sticky fingers. It's amazing how a shared mini cake can turn a simple meal into a story you'll retell for years.
Choosing the Perfect Matcha Matters
I learned pretty quickly that not all matcha is created equal; the cheapest tins turn gray and bitter, while proper culinary grade matcha makes the cake pop with color and subtle flavor. Don’t be afraid to splurge a little here—it’s the main event in every bite.
Frosting Fears and Triumphs
If your frosting ever gets too stiff or thick, add just a splash more milk and beat again—it will smooth out beautifully. On the flip side, if it’s too runny, a spoonful of extra powdered sugar can save the day without starting over.
Make It Your Own: Decoration Inspiration
Some days I lean toward a flurry of pastel sprinkles, others I’ll artfully arrange berries for a jewel-like look—either way the cake always feels personalized. That’s half the fun with a mini cake: low stakes, high reward, and endless ways to riff on the theme.
- Add freeze-dried fruit for crunch and color.
- A drizzle of honey or white chocolate elevates the whole effect.
- Don’t fuss over getting perfect layers—messy is charming.
 Save
Save 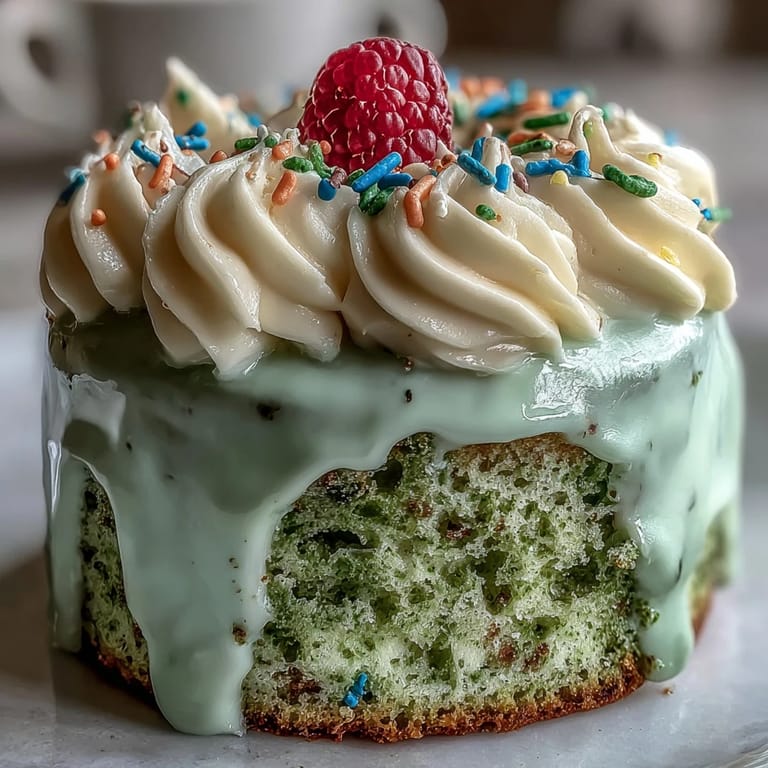 Save
Save However you serve it, this mini matcha birthday cake brings bright energy to any brunch. Here’s to celebrating every bite, whether it ends up perfectly sliced or deliciously smashed.
Recipe Q&A
- → How strong should the matcha flavor be?
Start with one tablespoon of culinary matcha for a noticeable yet balanced green-tea note. Increase in 1/2-tsp increments for a bolder, more vegetal flavor—taste the batter cautiously to avoid bitterness.
- → Can I make this dairy-free?
Yes. Swap whole milk for oat or soy milk and use a plant-based butter alternative for the frosting. Choose vegan powdered sugar if strict vegan ingredients are needed.
- → How do I avoid an overmixed crumb?
Combine wet and dry until just incorporated; stop when no streaks of flour remain. Overmixing develops gluten and leads to a dense texture—gentle folding keeps the cake light.
- → What ensures smooth, spreadable frosting?
Beat softened butter until creamy before adding powdered sugar gradually. Add milk a teaspoon at a time to reach a spreadable consistency, and finish with vanilla and a pinch of salt to balance sweetness.
- → How long can I store the assembled cake?
Store covered in the refrigerator for up to 24 hours to keep layers fresh. Bring to room temperature before serving to restore tenderness and flavor.
- → Can I scale this up to a larger pan?
Yes—multiply ingredients by area when moving to larger pans, and adjust bake time accordingly. Watch for doneness with a toothpick; larger cakes need longer, gentler baking.