Save
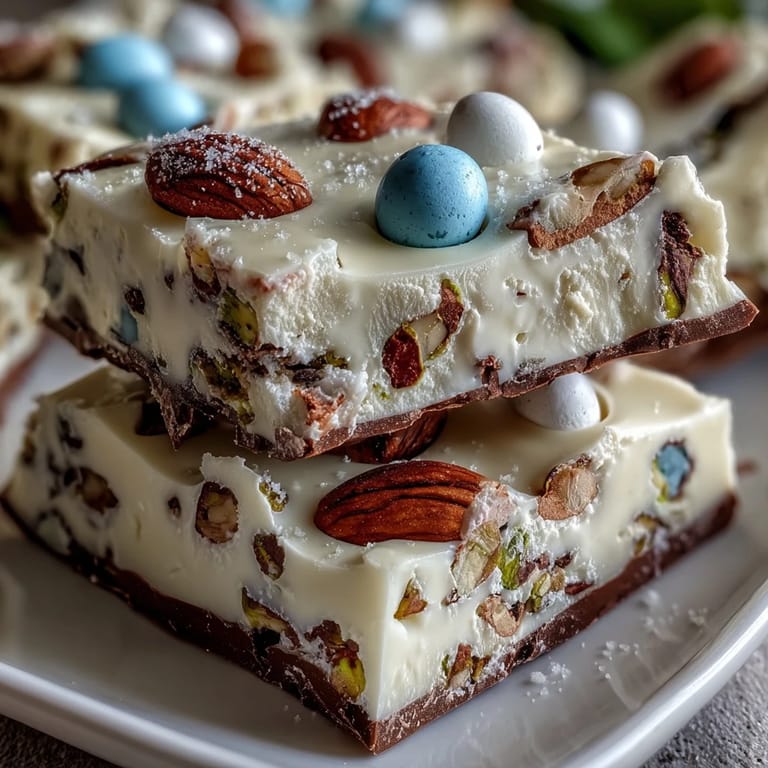
Save The first year I made White Chocolate Easter Bark, I was caught off guard by how the smell of melting chocolate instantly filled my tiny kitchen with optimism and mischief—it was mid-March, and a light rain tapped the window while pastel candy scattered across my countertop. I never expected such a simple treat to demand such a gleeful mess, but every bright egg rolling away made me laugh more. My neighbor popped in mid-prep, lured by the aroma, and ended up helping me crack pistachios while we debated the superior Easter chocolate. That conversation lingers in my mind now, almost as much as the taste of the finished bark. This recipe has become my go-to for sharing a bit of springtime cheer even on the grayest day.
One late Sunday, with rain threatening the egg hunt, I whipped up a tray of this bark for a crowd of fidgety kids and tired adults. The clatter of spoons and laughter mixed with the snap of chocolate cooling in the fridge is still one of my happiest 'host' moments—within minutes of serving, not a crumb was left.
Ingredients
- High-quality white chocolate (500 g): Splurging here makes a difference—avoid waxy bars and opt for real cocoa butter for the smoothest melt.
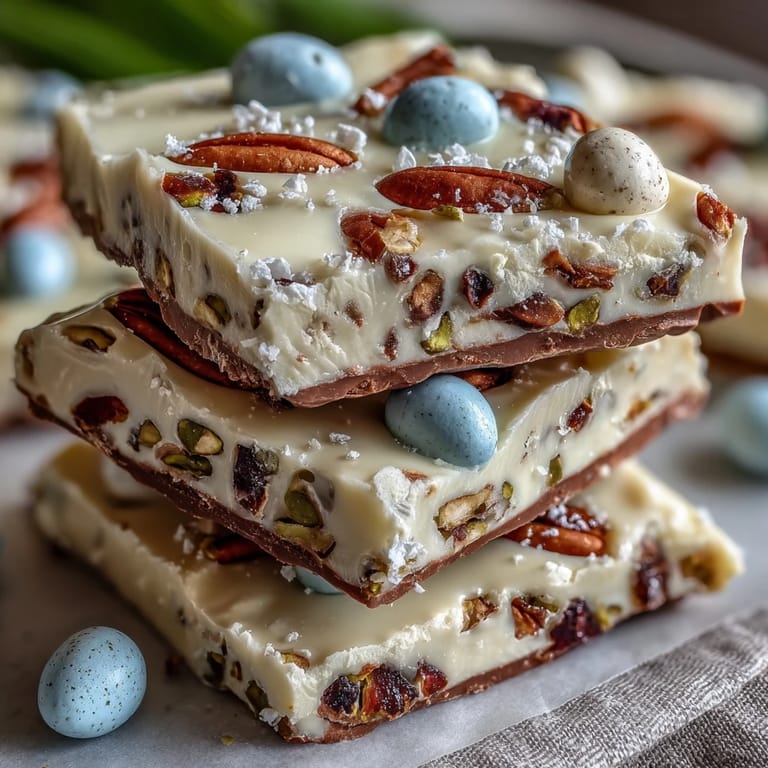
- Pastel candy-coated chocolate Easter eggs (100 g, roughly chopped): These little bursts of color instantly shout 'spring'—roll them gently under your knife so they crack open without shattering into dust.
- Shelled pistachios (60 g, roughly chopped): The salty crunch is a game-changer, and the green looks stunning against the white chocolate.
- Pastel sprinkles (2 tbsp, optional): When I want extra fun, sprinkles are my not-so-secret finishing touch—just scatter for maximum whimsy.
Tired of Takeout? 🥡
Get 10 meals you can make faster than delivery arrives. Seriously.
One email. No spam. Unsubscribe anytime.
Instructions
- Prep Your Tray:
- Grab a baking sheet and line it snugly with parchment paper to keep things easy and nonstick—it will also catch stray sprinkles.
- Melt the White Chocolate:
- Warm white chocolate gently over barely simmering water, stirring often; watch for the moment it shifts from lumpy to shiny and smooth. Microwave works too, just keep the bursts short and stir in between so nothing scorches.
- Spread the Chocolate:
- Pour the melted magic onto your tray and wiggle it into a generous rectangle about 0.5 cm thick—don’t worry about perfect lines, bark is all about fun imperfection.
- Scatter the Toppings:
- Now comes the best part: tumble over the eggs, pistachios, and (if you’re feeling festive) pastel sprinkles. Press down gently with your hands, and try not to eat too many toppings while you decorate.
- Chill to Set:
- Pop the tray into the fridge for at least 45 minutes, or until everything is firm and glossy—peek, but resist poking until it’s truly solid.
- Break and Enjoy:
- Lift the set bark and break it into rough shards with your hands or a sharp knife—some big, some small, all delicious. Stash any leftovers in an airtight container (if you have any at all!).
 Save
Save I’ll never forget the look on my friend’s face when I gifted her a box of this bark, wrapped with a quick ribbon dash—she immediately broke off a piece and shared it on the spot, insisting we enjoy the first bite together.
Personalizing Your Bark
Over a few years of experimenting, I’ve swapped in everything from dried cranberries to roasted coconut flakes—there’s no wrong way to make this bark your own. Trust your cravings and whatever’s in your pantry to change up the toppings as the mood strikes.
Tips for Perfect Melting
Take care to melt the chocolate low and slow, as white chocolate is especially sensitive to heat—if it looks stiff or crumbly, remove from the heat immediately and stir in a little extra chopped chocolate to calm it down.
Make-Ahead and Storage Tricks
Bark lasts up to two weeks in an airtight tin—but in my house, it rarely survives longer than a weekend. For extra flair, tuck pieces into small bags for party favors, or keep some hidden in the fridge for sneaky snacking.
- Chill for the full time for clean-breaking shards.
- Always double check labels if making for anyone with allergies.
- Don’t skimp on the salty nut topping—it keeps the sweetness bright.
 Save
Save Every batch of this Easter bark reminds me that simple things shared can turn an ordinary day into something worth remembering. I hope it brings as much color and joy to your kitchen as it does to mine.
Recipe Q&A
- → How can I melt white chocolate without it seizing?
Use a gentle double boiler or short microwave bursts, stirring between each. Avoid steam or water contact and remove from heat while some small unmelted pieces remain—residual heat will smooth them.
- → Can I make a nut-free version?
Yes. Omit pistachios and replace with extra chopped candy eggs, toasted coconut, or seeds for crunch while keeping it nut-free.
- → How do I get an even, glossy surface?
Spread the melted chocolate with an offset spatula to an even 0.5 cm layer and tap the tray gently to release air bubbles. Work quickly before the chocolate begins to set.
- → What is the best way to store the finished bark?
Keep in an airtight container in a cool, dry place. Refrigerate if your kitchen is warm—stored refrigerated it keeps up to two weeks; at cool room temperature, aim to eat within about 5–7 days.
- → Can I use vegan white chocolate or swap toppings?
Yes. Use vegan white chocolate for a dairy-free option. Swap pistachios for almonds or omit nuts entirely; try sea salt, dark chocolate drizzle, or different candies for varied flavor and texture.
- → Is tempering necessary for this bark?
Tempering isn’t required for a simple bark, though tempered white chocolate gives a firmer snap and glossier finish. For ease, melt gently and chill until fully set.