 Save
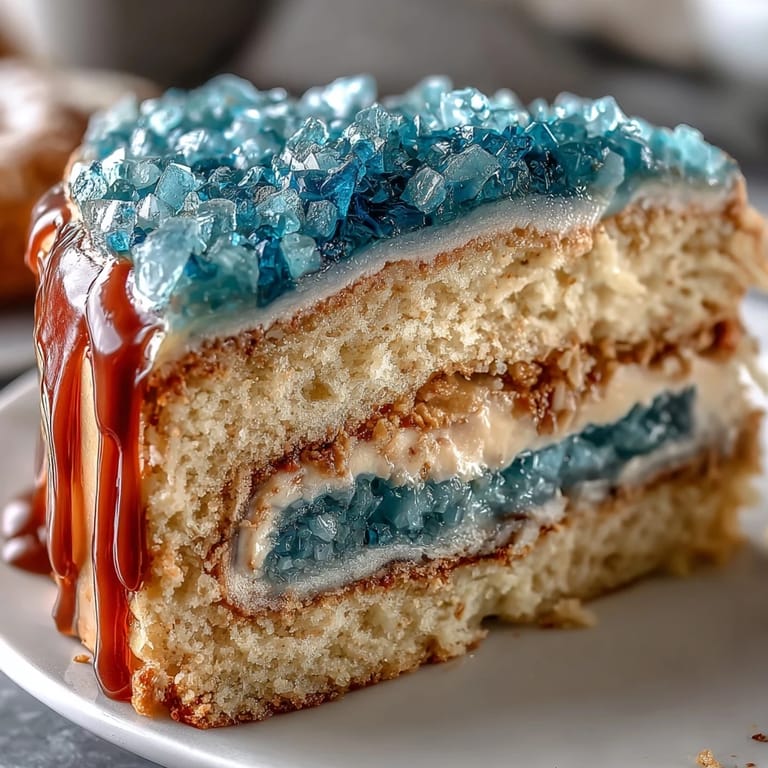
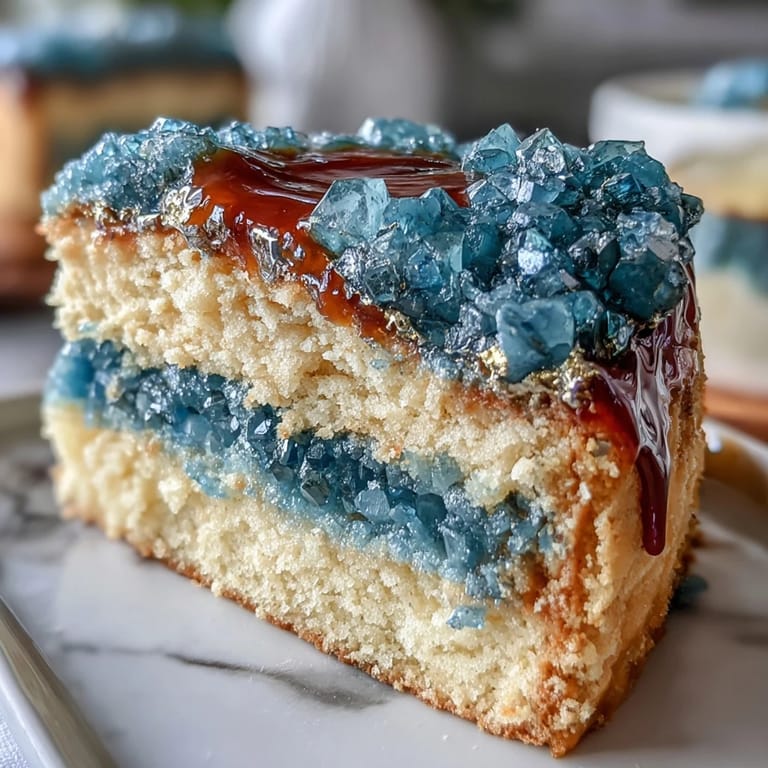
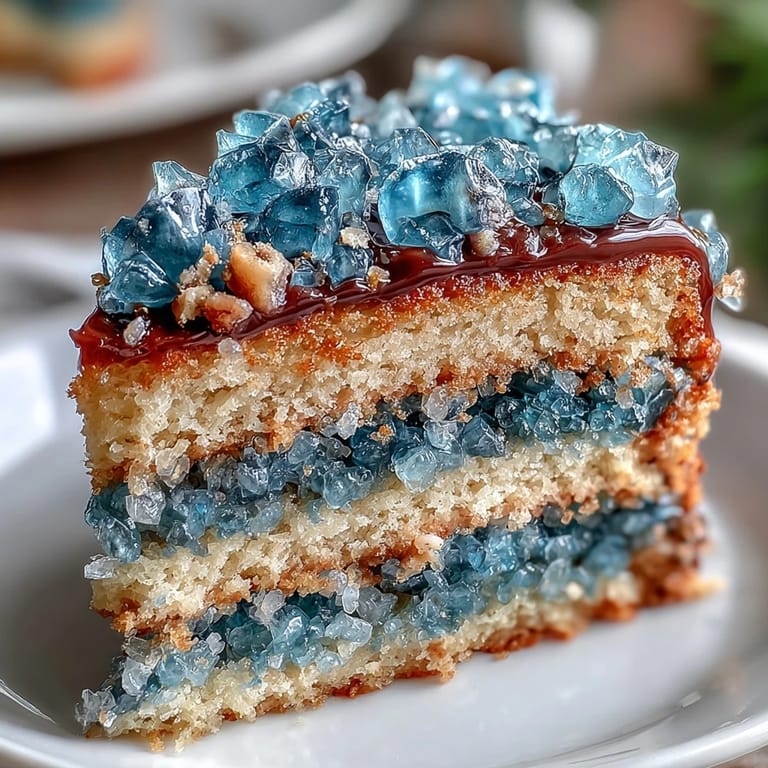
Save The moment you encounter a teal and gold geode cake in person, the brilliance is unmistakable—sometimes, it's the shimmer that hits you first. One afternoon in early June, I decided to try my hand at this showstopper after seeing it featured in a graduation party spread. The lure wasn't just the aesthetic; the thought of blending artistry with cake was irresistible. As I mixed the batter, flecks of teal food coloring stained my hands—proof of creative chaos in the kitchen. The aroma of vanilla and melting butter hinted at deliciousness beneath all that sparkle.
Last spring, I made this graduation cake for my cousin's big day, and we got everyone to help color the rock sugar—by dessert time, their hands were a patchwork of blues and teals. Quiet laughter filled the kitchen as we navigated the gold leaf accents. I still remember the way the sunlight caught the cake's metallic edges, turning a simple afternoon into something memorable. The cake was the centerpiece, but the teamwork lingered long after. It's now teased as the "art project you can eat" at family gatherings.
Ingredients
- All-purpose flour: Sifting makes it light, resulting in a tender cake crumb that guests always notice.
- Baking powder: This ensures lofty layers, but measuring carefully prevents dryness.
- Salt: Balances sweetness—don't skip it.
- Unsalted butter: Room temperature butter is a must for a fluffy texture; I always let it sit out during prep.
- Granulated sugar: Creaming thoroughly with butter gives a delicate softness.
- Eggs: Using room temp eggs blends perfectly and avoids curdling.
- Vanilla extract: Choose a good vanilla for depth; sometimes I add a splash more for aroma.
- Whole milk: Gradually incorporating milk keeps the batter smooth.
- Powdered sugar: Sifting prevents lumpy buttercream and smooths the finish.
- Heavy cream or milk: Adding it slowly helps control buttercream texture.
- Teal gel food coloring: The gel yields vibrant hues without thinning frosting—essential for that iconic grad cake look.
- Rock sugar crystals: These mimic geode formations and are surprisingly fun to color; I recommend clear for best effect.
- Edible gold leaf/luster dust: For gilded edges that shimmer; patience is required, but the payoff is big.
- Simple syrup: Brushing layers keeps the cake moist—especially helpful if you'll serve it later.
Tired of Takeout? 🥡
Get 10 meals you can make faster than delivery arrives. Seriously.
One email. No spam. Unsubscribe anytime.
Instructions
- Mix the Cake Batter:
- Whisk flour, baking powder, and salt together so it's airy, then cream butter and sugar until pale and fluffy—listen for the soft thwacks of the mixer.
- Build Flavor:
- Beat in eggs one at a time, each making the batter silkier, and add vanilla for a floral note.
- Combine Ingredients:
- Alternate dry mix and milk as you stir; watch for a creamy, smooth texture that feels luxurious to scoop.
- Bake the Layers:
- Divide batter between pans, slide them into the oven, then savor the anticipation as the kitchen smells like sweet vanilla.
- Cool and Release:
- Let layers sit in the pans before turning out onto racks—patience here prevents cracks.
- Create Buttercream Magic:
- Whip butter, add powdered sugar gradually, and watch it transform—when creamy, start coloring it teal for that striking look.
- Prepare Geode Sugar:
- Gently mix sugar crystals with teal gel food coloring in a bowl; spread them out to dry for maximum sparkle.
- Stack and Layer:
- Trim cakes if needed, brush each with syrup, and layer with buttercream—smooth the sides for that professional finish.
- Frost with Style:
- Use uncolored buttercream for a crumb coat, chill, then cover with teal buttercream and take your time smoothing.
- Sculpt the Geode:
- Cut a wedge into the cake, fill with buttercream, and press colored sugar crystals inside—build depth using shade variations.
- Add Gold Accents:
- Carefully paint or press gold leaf on geode edges for a luxe, shimmery reveal.
- Finishing Touches:
- Decorate with extra gold or a graduation topper—stand back to admire your edible centerpiece.
 Save
Save The first time someone snapped a photo of this cake, it sparked conversation—suddenly, the dessert had become a memory with people gathered around just to admire the handiwork. There's something about sharing slices that turns the cake into the centerpiece of celebration and connection.
Infusing Personality Into Your Design
Let the geode shape reflect your creativity; some like a dramatic wedge, others a subtle curve. On my last attempt, blending teal and blue food coloring for the crystals made the geode look striking beneath the gold. Experiment with positioning and textures until it feels truly yours.
Making Assembly Fun and Stress-Free
The layering process is a bit like stacking building blocks—if you chill the cake after crumb coating, it makes final frosting much easier. I keep an offset spatula handy for those tricky corners and smooth edges. Even small imperfections disappear once the geode feature is placed.
Celebration Cake Serving Success
When it's time to serve, let your guests see the geode slice first for that dramatic moment. I usually pair cake slices with sparkling lemonade on warm afternoons, and it becomes part of the celebration ritual.
- Use a sharp serrated knife for clean slices.
- Serve chilled for best texture and flavor balance.
- Save any leftover sugar crystals as a festive topping for cupcakes.
 Save
Save This cake combines artistry, teamwork, and sweetness—perfect for turning any graduation day into a stylish celebration. You'll remember the applause when you unveil it, but the joy of creating it lingers long after.
Recipe Q&A
- → How do you achieve the geode effect?
Carve a slice from the cake and fill the cut-out with teal-colored sugar crystals, then finish with gold accents for a geode look.
- → Can I use different flavors for the cake?
Yes, substitute vanilla extract with lemon or almond for a unique flavor twist.
- → What coloring should I use for the crystals?
Teal gel food coloring works best. Blend with blue for added depth and drama.
- → How many servings does this cake yield?
This cake comfortably serves up to 16 with generous slices.
- → What tools are necessary for decorating?
You'll need an electric mixer, cake pans, offset spatula, food-safe paintbrush, and a serrated knife for carving.
- → Is the cake suitable for vegetarians?
Yes, the ingredients used are vegetarian-friendly.