 Save
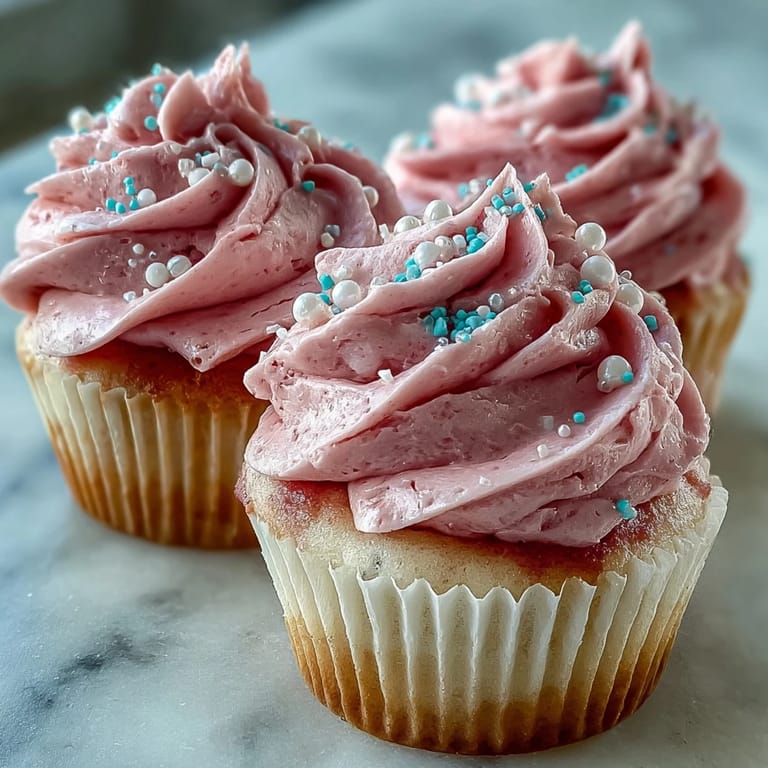
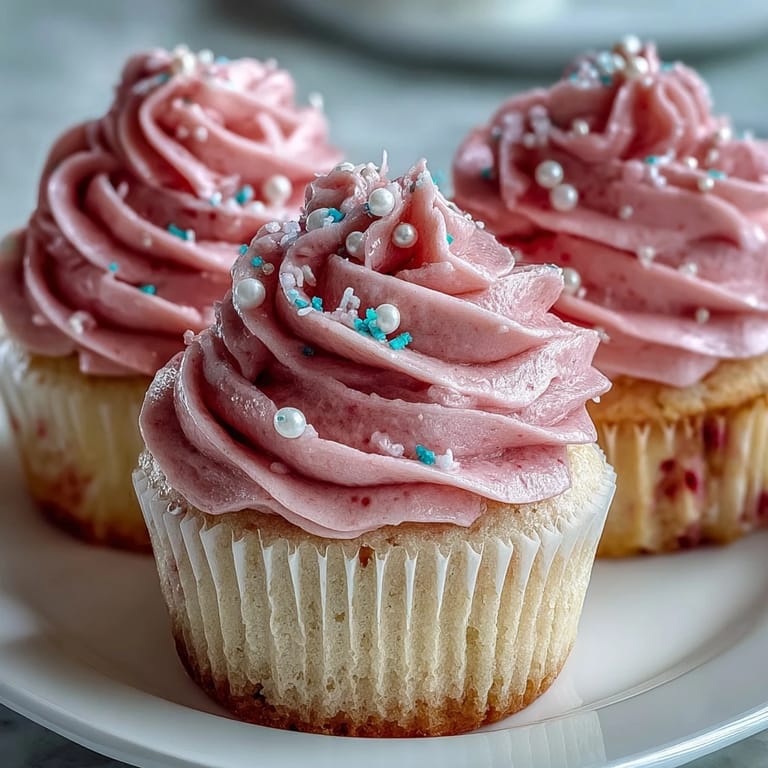
Save There was a moment last spring when I realized pink doesn't need to shout to be noticed. I had mixed the batter expecting something bold, but what came out of the oven was a quiet blush, delicate and almost shy. My niece held one in both hands and whispered that it looked like a cloud at sunset. I've been making these ever since, each time grateful for that soft color and the way it makes people pause before the first bite.
I made a batch for a friend's baby shower, piped them with careful swirls, and watched as grown adults got quiet while they ate. One woman asked if I'd been to pastry school. I hadn't, but I'd learned to respect room-temperature butter and to stop mixing the second the flour disappeared. Those two things alone changed everything about how I bake.
Ingredients
- Cake flour: This gives the cupcakes their signature lightness, if you only have all-purpose, the cornstarch trick works beautifully to mimic that fine texture.
- Baking powder and baking soda: The duo creates a gentle rise and a tender crumb, and the soda reacts with the vinegar for extra lift.
- Unsalted butter: Room temperature is non-negotiable here, cold butter won't cream properly and your cupcakes will be dense.
- Granulated sugar: Creaming it with the butter traps air, which is what makes these cupcakes so soft.
- Egg: Binds everything together and adds richness, make sure it's at room temperature so it blends smoothly.
- Buttermilk: Adds moisture and a subtle tang that keeps the sweetness in check, whole milk with a squeeze of lemon works in a pinch.
- Vanilla extract: Pure vanilla is worth it, the flavor comes through in both the cake and the frosting.
- White vinegar: A small amount activates the baking soda and helps distribute the color evenly.
- Pink gel food coloring: Gel is more concentrated than liquid, so you get that pretty blush without adding extra moisture.
- Powdered sugar: The base of the buttercream, sifting it prevents lumps and makes the frosting velvety.
- Heavy cream: Loosens the buttercream to the perfect consistency, you can add more or less depending on how you like to pipe.
Tired of Takeout? 🥡
Get 10 meals you can make faster than delivery arrives. Seriously.
One email. No spam. Unsubscribe anytime.
Instructions
- Prepare Your Oven and Pan:
- Preheat to 350°F and line your muffin tin with paper liners so the cupcakes release cleanly. I always give the empty liners a little press to make sure they sit flat.
- Combine the Dry Ingredients:
- Sift the cake flour, baking powder, baking soda, and salt together in a medium bowl. This step aerates the flour and ensures even distribution of the leavening agents.
- Cream the Butter and Sugar:
- Beat the butter until smooth, then add sugar gradually and beat for 2 to 3 minutes until the mixture is pale and fluffy. This is where the texture starts to build.
- Add the Egg and Vanilla:
- Lightly beat the egg first, then add it slowly with the mixer on low, followed by the vanilla. Scrape down the bowl to make sure everything is incorporated.
- Alternate Dry and Wet Ingredients:
- Add the dry mix and buttermilk in stages, starting and ending with the dry ingredients. Mix on low and stop as soon as the flour disappears, overmixing will make the cupcakes tough.
- Tint the Batter:
- Stir the vinegar and pink gel coloring together in a small cup, then mix it into the batter on low speed until the color is even. The batter will lighten slightly as it bakes.
- Fill and Bake:
- Divide the batter evenly among the liners, filling each about two-thirds full, then tap the pan gently on the counter to release air bubbles. Bake for 18 to 22 minutes until a toothpick comes out clean or with a few moist crumbs.
- Cool Completely:
- Let the cupcakes rest in the pan for 5 minutes, then transfer to a wire rack. Frosting warm cupcakes will melt the buttercream, so patience here is key.
- Make the Buttercream:
- Beat the butter until creamy, then add powdered sugar gradually on low speed. Increase to medium and beat until smooth, then add vanilla, cream, and salt and whip on medium-high until light and fluffy.
- Frost and Decorate:
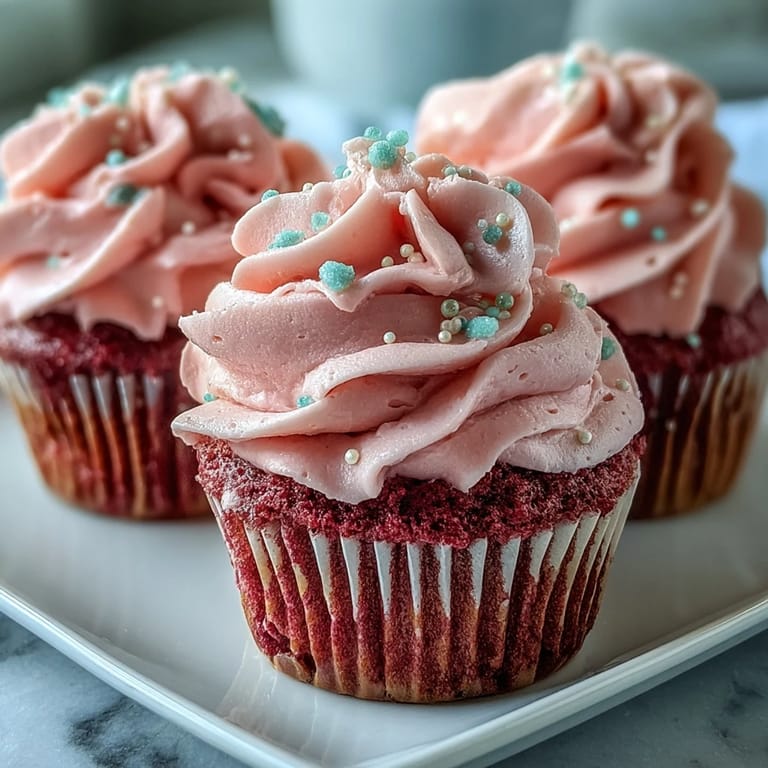
- Transfer the buttercream to a piping bag or use an offset spatula to frost each cooled cupcake. Finish with sprinkles, edible pearls, or pink sanding sugar if you like.
 Save
Save I remember setting a platter of these on the table at a birthday dinner and watching my friend's face light up before she even tasted one. She said they looked too pretty to eat, then immediately reached for two. That's the thing about these cupcakes, they feel special without trying too hard, and that's exactly what makes them worth making again and again.
Storage and Make-Ahead Tips
Frosted cupcakes keep well in an airtight container at cool room temperature for up to two days, but in warm weather I tuck them in the fridge to keep the buttercream firm. If you want to prep ahead, bake and cool the cupcakes completely, wrap them tightly in plastic, and freeze for up to a month. Thaw at room temperature and frost just before serving. The buttercream can be made a day in advance and stored in the fridge, just bring it back to room temperature and rewhip it for a minute before piping.
Customizing Your Cupcakes
If you want a deeper pink, add a bit more gel coloring, or try beet powder for a natural tint that adds a faint earthy sweetness. You can also tint the buttercream by mixing in a drop of pink coloring for a monochrome look. For flavor variations, swap the vanilla extract for almond or rosewater, or fold in a handful of white chocolate chips before baking. Mini cupcakes are adorable for parties, just fill the liners halfway and bake for 10 to 12 minutes.
Troubleshooting Common Issues
If your cupcakes dome too much, your oven may be running hot, try lowering the temperature by 10 degrees. Sunken centers usually mean underbaking or opening the oven door too early, so resist peeking until at least 15 minutes have passed. If the buttercream is too stiff, add cream a teaspoon at a time until it softens. If it's too loose, add more powdered sugar gradually until it holds a swirl.
- Always use fresh baking powder and soda, old leavening agents won't give you the lift you need.
- Tap the filled muffin tin gently on the counter before baking to release trapped air bubbles.
- For perfectly even cupcakes, use a cookie scoop to portion the batter into the liners.
 Save
Save These cupcakes have become my go-to for moments that need a little sweetness without all the fuss. I hope they bring you the same quiet joy they've brought me, one soft pink swirl at a time.
Recipe Q&A
- → What makes pink velvet different from red velvet?
Pink velvet cupcakes achieve their signature blush hue through pink gel food coloring rather than the traditional cocoa and red dye combination found in red velvet. The flavor profile focuses on vanilla and buttermilk tanginess without cocoa's subtle chocolate notes, resulting in a lighter, more delicate taste perfect for those who prefer classic vanilla over chocolate undertones.
- → Can I use natural food coloring instead of gel?
Absolutely! Swap the pink gel food coloring for beet powder to achieve a natural rosy tint. Start with 1 teaspoon and adjust as needed—beet powder creates beautiful soft pink shades without artificial dyes. Keep in mind that natural coloring may yield a more subtle hue compared to concentrated gels, but the flavor remains completely unaffected.
- → How do I know when the cupcakes are fully baked?
Insert a toothpick into the center of a cupcake—if it comes out clean or with just a few moist crumbs, they're done. The tops should spring back lightly when touched, and the edges will begin pulling slightly away from the liners. Baking typically takes 18–22 minutes at 350°F. Avoid overbaking, which can dry out the tender crumb.
- → Can I make the batter ahead of time?
For best results, bake the cupcakes immediately after mixing the batter. The chemical reaction between baking powder, baking soda, and buttermilk begins working right away, and letting the batter sit could affect the texture and rise. However, you can bake the cupcakes a day ahead and store them unfrosted in an airtight container, then frost just before serving.
- → How should I store frosted pink velvet cupcakes?
Keep frosted cupcakes in an airtight container at cool room temperature for up to 2 days. Avoid refrigeration unless necessary, as it can dry out the crumb and make the buttercream firm. If you need to store them longer, place unfrosted cupcakes in the freezer for up to 3 months, then thaw and frost when ready to serve.
- → Why does the recipe call for cake flour instead of all-purpose?
Cake flour has lower protein content than all-purpose flour, creating a more tender, delicate crumb essential for velvet cupcakes. If you only have all-purpose flour, simply sift 1⅛ cups with 2 tablespoons cornstarch—the cornstarch mimics cake flour's lower protein structure. This small adjustment makes a noticeable difference in texture, producing that signature velvety softness.